
How Do I Stain My Fence?
Master fence staining with our comprehensive guide covering techniques, timing, and best practices for Seattle's unique climate.
Article Summary
Get an AI-powered summary of this article for quick insights and key takeaways.
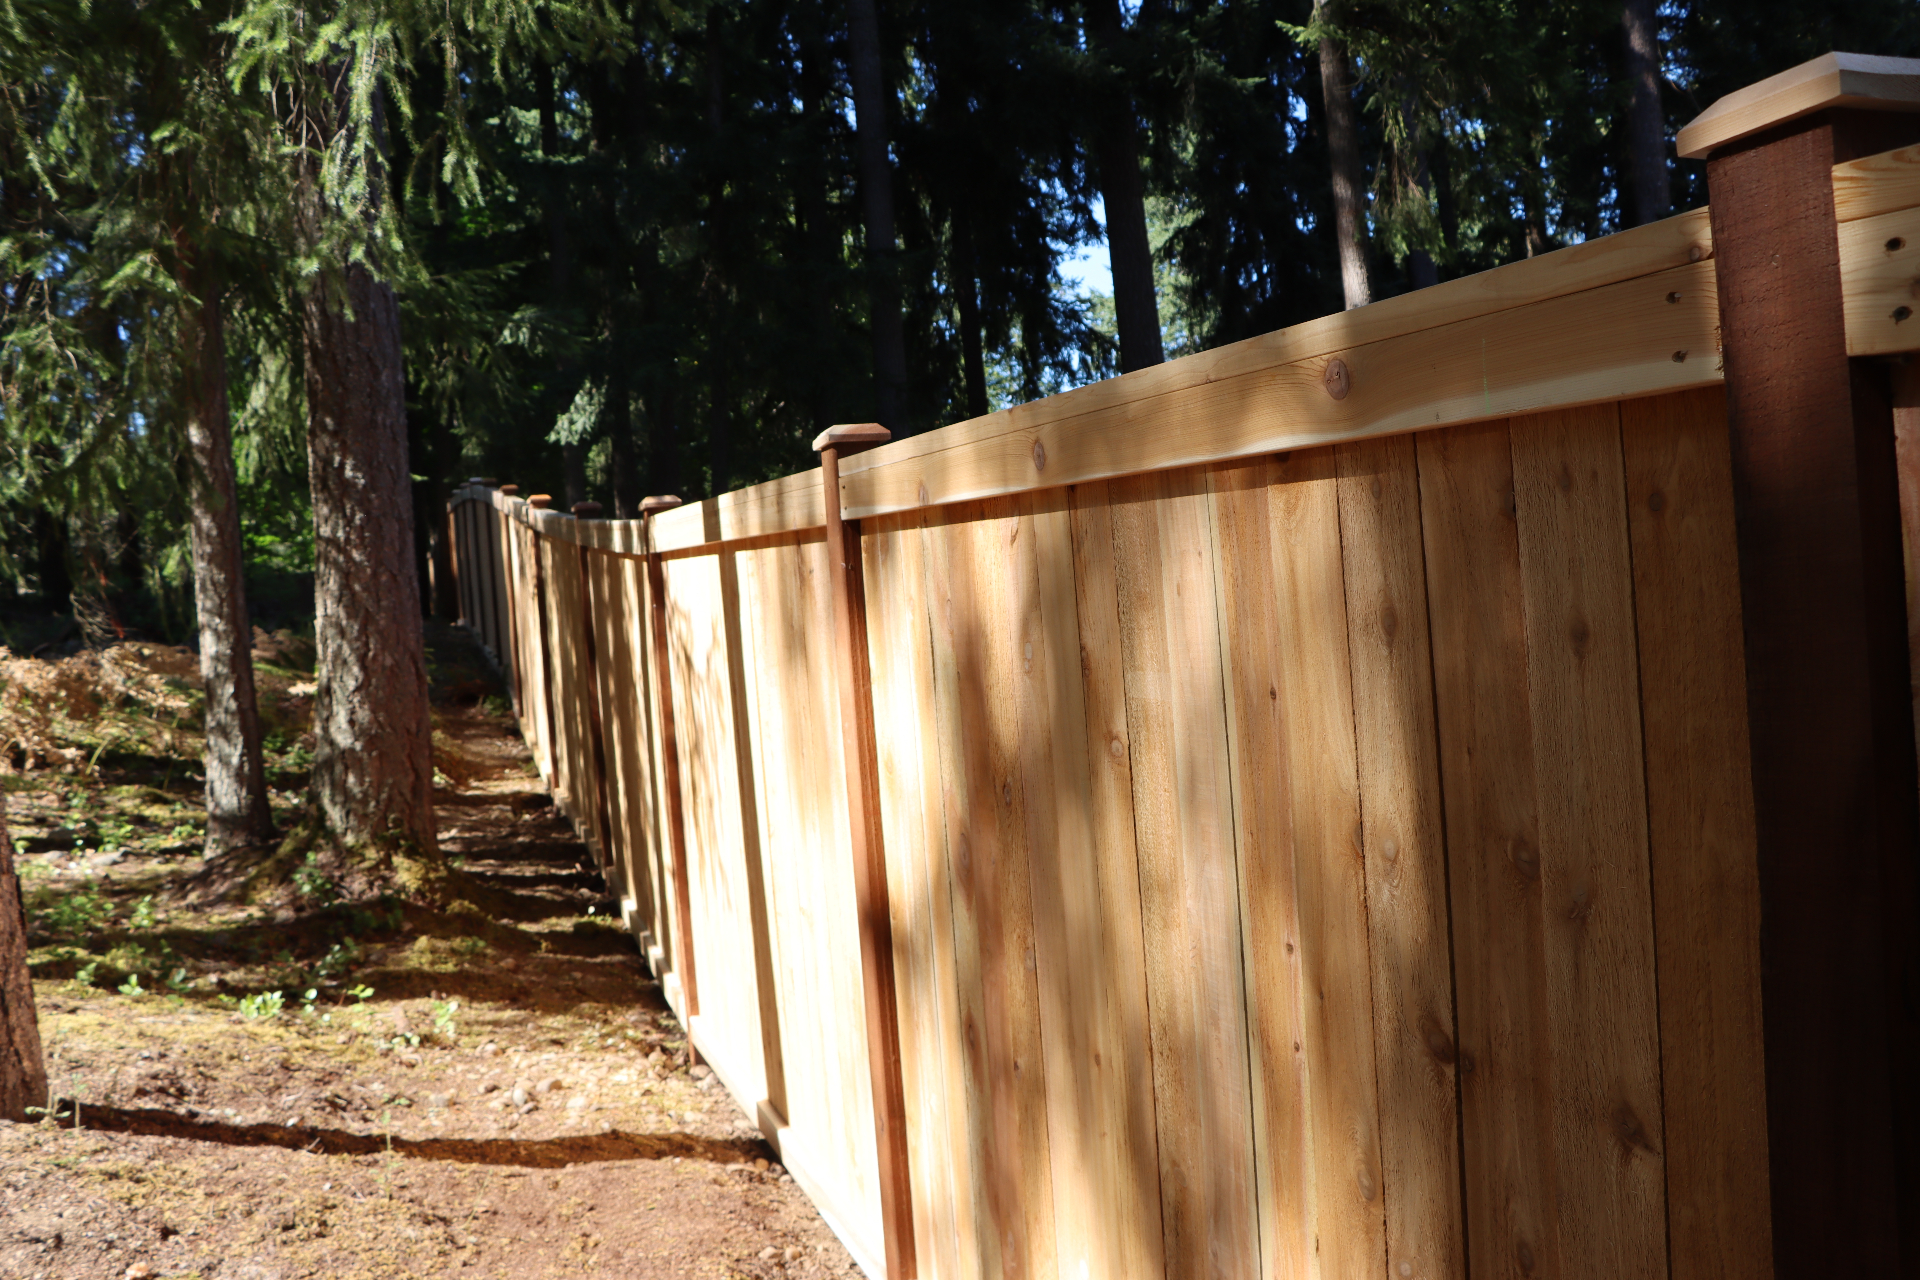
Choosing the Right Stain for Seattle's Climate
Seattle's wet winters and dry summers demand a high-quality stain that can withstand moisture and UV exposure. Semi-transparent stains offer the best balance of protection and natural wood appearance, while solid stains provide maximum protection for older or weathered fences.
Recommended Stain Types for Seattle
- Semi-transparent: Shows wood grain, moderate protection (2-4 years)
- Semi-solid: Some grain visible, good protection (3-5 years)
- Solid stain: Opaque coverage, maximum protection (4-6 years)
Weather Considerations for Seattle Fence Staining
Timing is crucial for successful fence staining in the Pacific Northwest. Ideal conditions include:
Temperature
50-85°F
Humidity
Below 70%
Best Months
May - September
Brushing vs Spraying: Complete Comparison
Brushing Method
Advantages
- • Deeper stain penetration
- • Works stain into wood grain
- • Longer-lasting results (6-8 years)
- • Better coverage on rough surfaces
- • More control over application
Disadvantages
- • Time-intensive process
- • More physical effort required
- • Potential for brush marks
- • Difficult on tall fences
Spraying Method
Advantages
- • Fast application
- • Even coating distribution
- • Good for large projects
- • Reaches high/difficult areas
- • Professional appearance
Disadvantages
- • Shorter lifespan (3-5 years)
- • Surface application only
- • Overspray concerns
- • Equipment requirements
- • Wind sensitivity
Professional Recommendation
For maximum longevity in Seattle's climate, we recommend brushing for the first coat (deep penetration) followed by a light spray application for even coverage. This hybrid approach combines the benefits of both methods.
Tools and Materials Needed
Essential Equipment
- Brushes: 4-inch natural bristle brush for boards, 2-inch for detail work
- Sprayer: Airless sprayer or pump sprayer for spray method
- Rollers: 3/8-inch nap roller for smooth application
- Drop cloths: Protect plants and surfaces
- Safety gear: Gloves, eye protection, respirator
Material Calculations
Coverage rates (per gallon):
- Smooth surfaces: 250-350 sq ft
- Rough/textured surfaces: 150-250 sq ft
- First-time staining: 100-200 sq ft
Step-by-Step Staining Process
Preparation (Critical Step)
- Clean the fence thoroughly (see our fence cleaning guide)
- Allow 48-72 hours drying time after cleaning
- Check weather forecast - need 24-48 hours of dry weather
- Cover plants and surfaces with drop cloths
- Sand rough areas with 80-120 grit sandpaper if needed
Application Process
- Stir stain thoroughly - mix periodically during use
- Start from top and work down to avoid drip marks
- Work in manageable sections (3-4 fence panels at a time)
- Apply thin, even coats - avoid heavy application
- Maintain wet edge to prevent lap marks
- Back-brush spray applications for better penetration
Drying and Curing
- Touch dry: 2-4 hours (surface dry to touch)
- Recoat time: 4-6 hours between coats
- Full cure: 24-48 hours (weather dependent)
- Avoid foot traffic: Until fully cured
Common Mistakes to Avoid
Top 5 Staining Mistakes
- 1. Staining wet or dirty wood - Always ensure surface is clean and dry
- 2. Ignoring weather conditions - Humidity and rain will ruin your project
- 3. Applying too thick - Multiple thin coats outperform one thick coat
- 4. Not maintaining wet edge - Creates visible lap marks
- 5. Rushing the process - Proper preparation prevents poor performance
Maintenance Schedule for Seattle Fences
Brushed Applications
- Initial stain: Lasts 6-8 years
- Maintenance coat: Every 6-8 years
- Annual inspection: Check for wear spots
- Touch-ups: As needed for high-wear areas
Sprayed Applications
- Initial stain: Lasts 3-5 years
- Maintenance coat: Every 3-5 years
- Annual inspection: Check for fading/wear
- Touch-ups: More frequent than brushed
When to Call Professionals
Consider hiring professionals for fence staining when:
- Fence height exceeds comfortable reach (over 6 feet)
- Large fence area (over 200 linear feet)
- Complex fence design with many angles/details
- Time constraints or physical limitations
- Warranty requirements for commercial properties
Conclusion
Successful fence staining in Seattle requires attention to weather conditions, proper preparation, and choosing the right application method for your needs. While brushing provides longer-lasting results, spraying offers efficiency for larger projects. Regardless of method, proper preparation and quality materials are essential for protecting your fence investment in the Pacific Northwest climate.
Need Professional Fence Staining?
Get expert staining services with guaranteed results in Seattle